Welcome to the T6 Pro Thermostat Installation Manual. This guide provides comprehensive instructions for installing, configuring, and maintaining your Honeywell T6 Pro Thermostat effectively.
1.1 Overview of the T6 Pro Thermostat
The Honeywell T6 Pro Thermostat is a programmable, smart thermostat designed for residential HVAC systems. It offers advanced features like geofencing, smart scheduling, and compatibility with smart home devices. The thermostat learns your preferences over time to optimize heating and cooling, ensuring comfort while saving energy. Its sleek design and user-friendly interface make it easy to operate. The T6 Pro supports various HVAC systems and includes a UWP mounting system for straightforward installation. It is an ideal choice for homeowners seeking efficient, modern temperature control.
1.2 Importance of Proper Installation
Proper installation of the T6 Pro Thermostat is crucial to ensure optimal performance, safety, and energy efficiency. Incorrect installation can lead to system damage, reduced efficiency, or even safety hazards. Following the installation guide carefully helps prevent these issues and ensures compatibility with your HVAC system. Proper setup also unlocks advanced features like geofencing and smart scheduling, enhancing comfort and energy savings. Additionally, correct installation is essential for maintaining warranty validity and ensuring long-term reliability of the thermostat. Always refer to the manual for precise steps to guarantee a successful installation.
Package Contents and Requirements
The T6 Pro Thermostat package includes the thermostat unit, UWP mounting system, decorative cover plate, screws, anchors, 2 AA batteries, and installation instructions.
2.1 Items Included in the Package
The T6 Pro Thermostat package contains essential components for a seamless installation, including the thermostat itself, the UWP mounting system, a decorative cover plate, screws, and anchors. Additionally, it comes with 2 AA batteries to power the device and a detailed installation manual. These items ensure that you have everything needed to install and set up your thermostat correctly. The package is designed to simplify the installation process, making it user-friendly even for those with limited technical expertise. Proper use of these components ensures optimal performance and functionality of your new thermostat.
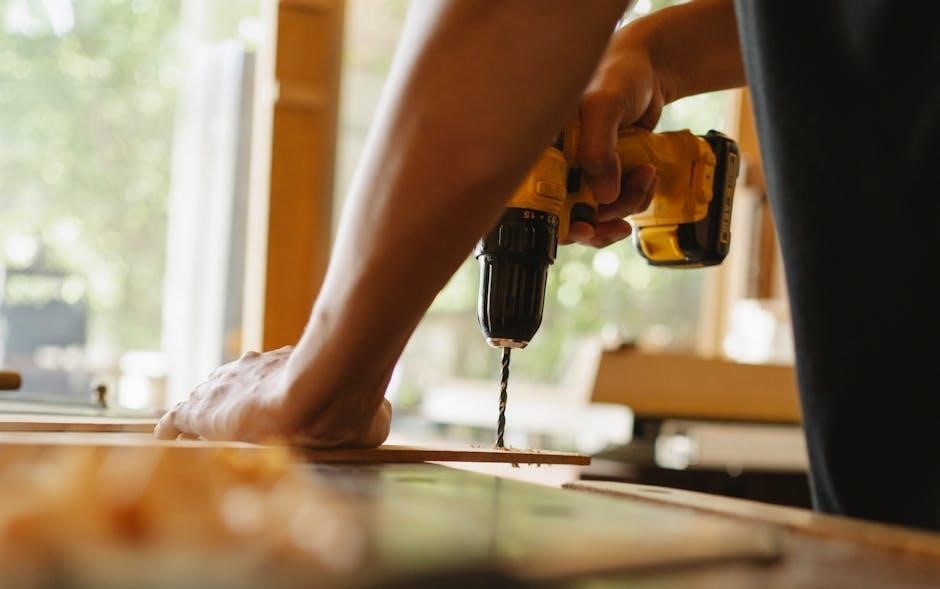
2.2 Tools and Materials Needed for Installation
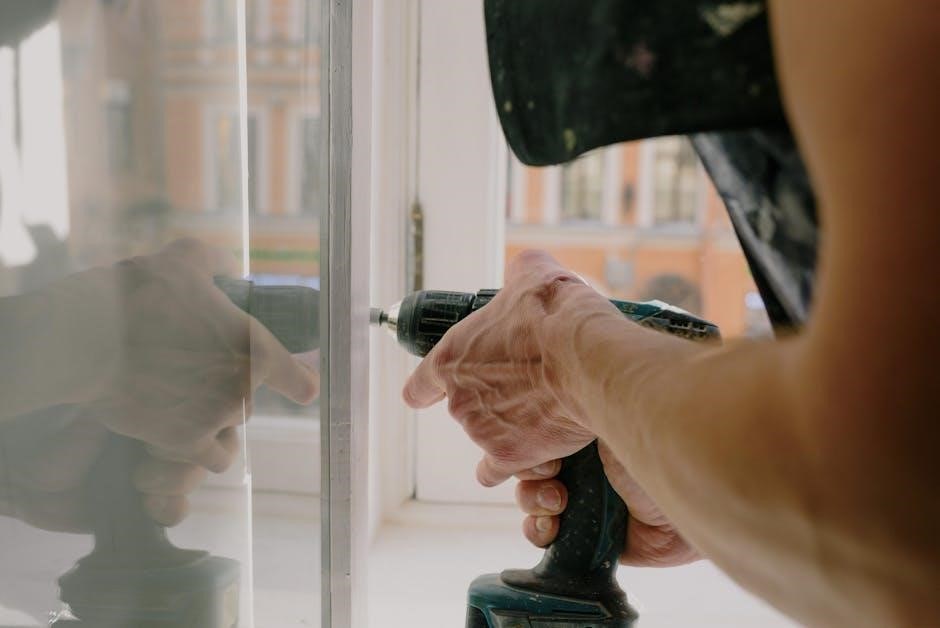
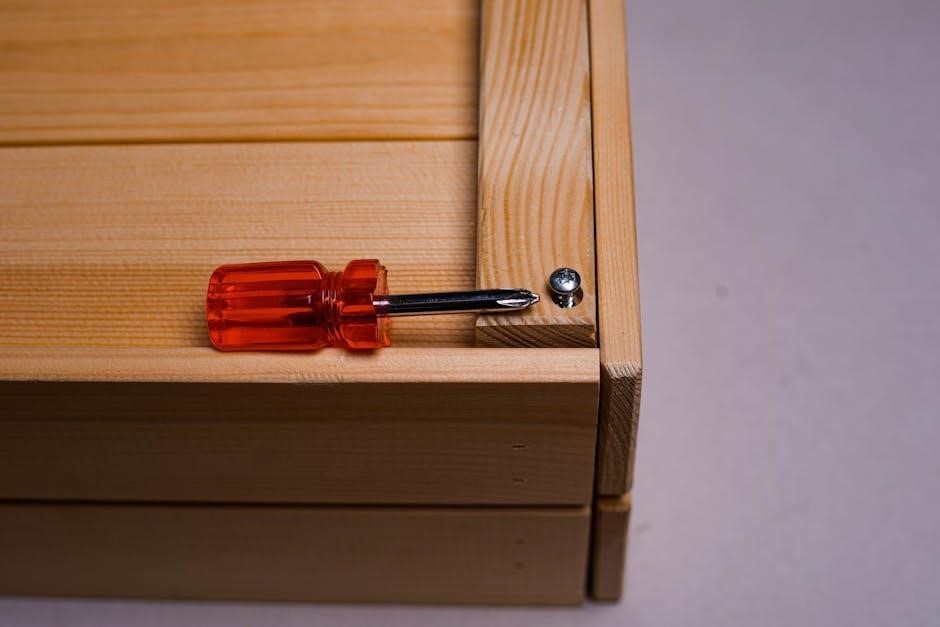
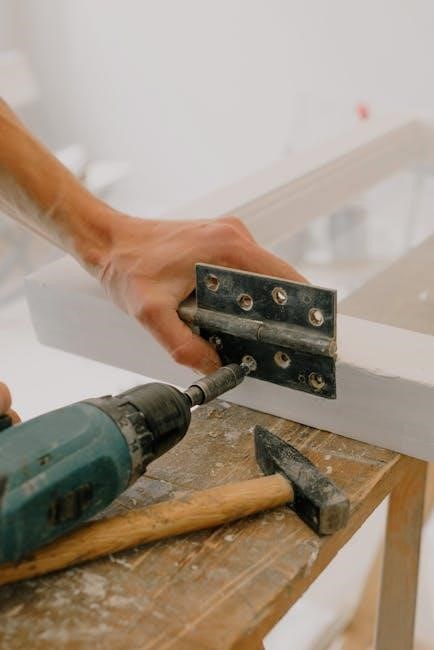
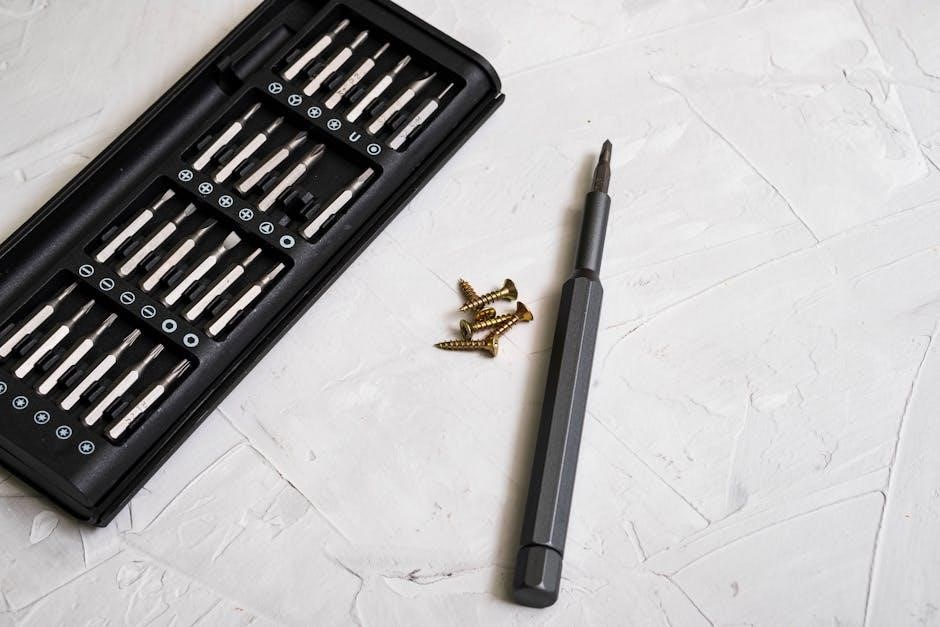
To install the T6 Pro Thermostat, you will need a few basic tools and materials. These include a drill for creating holes, screws for securing the mounting system, and a level to ensure proper alignment. Additionally, a pencil is useful for marking hole positions, and a voltage tester is recommended to verify that the power is off before starting work. Optional materials like a decorative cover plate may also be required, depending on your specific installation needs. Having these tools and materials ready will streamline the installation process and ensure a secure setup.
Pre-Installation Checks
Before installing the T6 Pro Thermostat, ensure compatibility with your HVAC system, turn off power, and verify all components are included. Check for any existing features like geofencing or smart scheduling compatibility. Refer to the manual for detailed guidance.
3.1 Compatibility with HVAC Systems
Ensure your HVAC system is compatible with the T6 Pro Thermostat. It works with most heating, cooling, and heat pump systems. Verify compatibility with your system type, including gas, oil, electric, and dual-fuel systems. Check the wiring configuration to ensure it matches the thermostat’s requirements. For heat pumps, confirm the correct stage configuration. If unsure, consult a professional HVAC technician to avoid installation issues. Proper compatibility ensures optimal performance and prevents potential system damage.
3.2 Safety Precautions Before Starting
Before installing the T6 Pro Thermostat, ensure the HVAC system’s power is turned off at the circuit breaker or fuse box. Verify the system is completely powered down using a voltage tester. Handle wiring carefully to avoid damage or electrical shock. Do not attempt installation if unsure about any step, as improper wiring can cause system malfunctions or safety hazards. Wear appropriate safety gear, such as gloves, when working with electrical components. Always follow the manufacturer’s guidelines and local electrical codes for a safe installation process.
Mounting System Installation
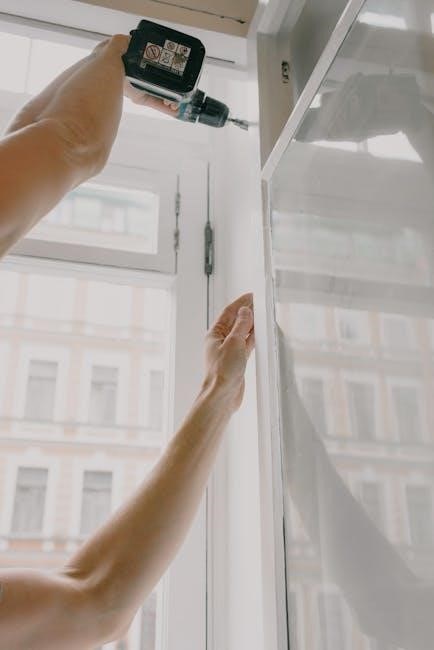
The T6 Pro Thermostat uses the UWP Mounting System for secure wall installation. Position the UWP on the wall, level it, and mark hole locations for screws.
4.1 Understanding the UWP Mounting System
The UWP Mounting System is designed for easy and secure installation of the T6 Pro Thermostat. It includes a wall plate and screws to ensure a sturdy fit. Level the UWP on the wall, mark the screw holes, and drill pilot holes if necessary. After securing the wall plate, attach the thermostat to it. This system adapts to various wall types, ensuring compatibility and a seamless installation process for any home setup.
4.2 Optional Cover Plate Installation
The optional cover plate is designed to cover paint gaps from your old thermostat or to mount the T6 Pro to an electrical junction box. To install, remove the thermostat from the UWP wall plate, align the cover plate with the wall, and mark the screw holes. Drill pilot holes if necessary, secure the cover plate with screws, and reattach the thermostat. This accessory ensures a clean and professional appearance, adapting to various installation scenarios for a seamless fit.
Step-by-Step Installation Process
Remove the old thermostat, install the new T6 Pro, and connect wires correctly. Follow detailed steps to ensure a smooth and proper installation process for optimal functionality.
5.1 Removing the Old Thermostat
Start by turning off the power to your HVAC system at the circuit breaker. Gently pull the old thermostat away from the wall to access the wires. Disconnect each wire from the old thermostat, taking care not to damage the connectors. Label the wires if they are not color-coded to ensure proper reconnection later. Remove any screws holding the old thermostat in place and set it aside. This step ensures a clean installation surface for the new T6 Pro thermostat.
5.2 Installing the New Thermostat
Mount the UWP system on the wall, ensuring it is level and securely fastened with screws. Attach the thermostat backplate to the UWP, aligning it properly. Snap the T6 Pro thermostat onto the backplate until it clicks. Turn the power back on and verify the thermostat powers up. Use the Honeywell Home app to complete the initial setup and configuration. Ensure all wires are correctly seated and the device is functioning as expected. This step finalizes the physical installation, preparing the thermostat for operation.
5.3 Connecting the Wires Correctly
Ensure the power is off before connecting any wires. Match the wires from your HVAC system to the corresponding terminals on the T6 Pro thermostat. Use the wire labels provided or refer to your old thermostat for guidance. Securely attach each wire to the correct terminal, ensuring no loose connections. If your system requires a common wire, connect it to the “C” terminal. Use the UWP mounting system to organize wires neatly. Once all connections are made, turn the power back on and test the thermostat to confirm proper functionality.
Advanced Features of the T6 Pro Thermostat
The T6 Pro offers smart home integration, geofencing, and smart scheduling, optimizing comfort and energy efficiency. Its advanced features adapt to your lifestyle and preferences seamlessly.
6.1 Smart Home Integration
The T6 Pro seamlessly integrates with popular smart home systems like Amazon Alexa and Google Home. Using the Honeywell Home app, you can control your thermostat remotely, set custom scenes, and receive notifications. This integration allows for voice commands and automated temperature adjustments, enhancing convenience and energy efficiency. Ensure your system is compatible and follow the app’s setup guide for a smooth connection. Regular updates through the app keep your thermostat functioning optimally, ensuring you stay comfortable and in control.
6.2 Geofencing and Smart Scheduling
The T6 Pro offers advanced geofencing, using your smartphone’s location to automatically adjust temperatures when you leave or arrive home. Smart scheduling learns your daily routines and preferences, optimizing energy usage. This feature ensures your system runs efficiently, reducing waste and enhancing comfort. Use the Honeywell Home app to customize settings, such as adjusting temperatures based on your location or scheduling changes throughout the day. These features work together to create a tailored heating and cooling experience while saving energy.
Configuration and Settings
Configure your T6 Pro Thermostat by setting temperature limits and adjusting the differential for optimal performance. Use the Honeywell Home app for smart customization and control.
7.1 Setting Up the Thermostat for the First Time
After installation, insert the 2 AA batteries into the thermostat. Attach the device to the UWP mounting system. Turn it on and follow the menu prompts to set basic configurations, such as temperature scale (°F or °C) and time format. Use the Honeywell Home app to complete initial setup, enabling smart features like geofencing and scheduling. Ensure all settings align with your HVAC system’s requirements for optimal performance and energy efficiency. Proper initial configuration ensures seamless operation and integrates with smart home systems effectively.
7.2 Adjusting Temperature Limits and Differential
Adjust temperature limits to define the minimum and maximum operating ranges for your HVAC system. Set the differential to determine the temperature change needed before the system activates. The T6 Pro allows converting the differential from 0°F to 5°F or 0.0°C to 2.5°C. Note that the differential is not a deadband but part of an algorithm to optimize heating and cooling cycles. Properly configure these settings to balance comfort and energy efficiency, ensuring the system operates within safe and effective parameters. Adjustments can be made via the thermostat menu or the Honeywell Home app for precise control.
Troubleshooting Common Issues
Identify and resolve common issues like connectivity problems or display malfunctions. Check wiring connections, ensure proper power supply, and restart the thermostat if necessary for optimal performance.
8.1 Common Installation Errors
Common installation errors include incorrect wiring connections, improper mounting of the UWP system, and failure to level the thermostat. Ensure all wires are securely connected to the correct terminals and the UWP is properly aligned. If the thermostat isn’t level, it may cause inaccurate temperature readings. Always refer to the installation manual for specific wiring diagrams and mounting instructions. Double-checking each step can prevent these issues and ensure smooth operation of the T6 Pro Thermostat.
8.2 Resolving Connectivity Problems
Connectivity issues with the T6 Pro Thermostat often arise from unstable Wi-Fi connections or incorrect network configurations. Ensure your router is functioning properly and restart both the router and thermostat. Check that the thermostat is connected to the correct network and that the Honeywell Home app is up to date. If issues persist, perform a factory reset and re-pair the device through the app. Additionally, verify that your home’s internet speed meets the minimum requirements for smart device connectivity.
Maintenance and Battery Replacement
Regular maintenance ensures optimal performance. Replace batteries annually or when low-battery alerts appear. Turn off power, remove the thermostat, and insert new AA batteries correctly. Clean the device with a soft cloth and upgrade software via the app for enhanced functionality.
9.1 Replacing Batteries in the T6 Pro
To replace the batteries in your T6 Pro thermostat, first ensure the power is off. Gently pull the thermostat away from its wall-mounted backplate. Open the battery compartment and remove the old AA batteries. Insert two new AA batteries, ensuring they are properly aligned and seated. Close the compartment and reattach the thermostat to the backplate. Turn the power back on, and your thermostat should function correctly. Regular battery replacement ensures uninterrupted operation and optimal performance. Always use high-quality batteries for reliability. This simple process helps maintain your thermostat’s efficiency and functionality.
9.2 Cleaning and Upgrading the Thermostat
Cleaning and upgrading your T6 Pro thermostat ensures optimal performance. Start by turning off the power. Gently remove the thermostat from the wall, taking care not to damage the wiring. Use a soft, dry cloth to wipe away dust and debris from the front and back. Avoid liquids to prevent electrical damage. For upgrades, check Honeywell’s website for software updates or compatible accessories. Install any new features or hardware according to the manufacturer’s instructions. Securely reattach the thermostat, restore power, and test its functionality. Regular maintenance enhances efficiency and extends the thermostat’s lifespan. Always follow safety guidelines and use recommended materials for the best results. This routine upkeep keeps your T6 Pro operating smoothly and effectively. Proper care ensures your thermostat continues to regulate your home’s temperature accurately and reliably.
Compatibility with Other Systems
The T6 Pro thermostat seamlessly integrates with smart home devices and HVAC systems, ensuring enhanced functionality and efficient temperature control across various platforms and setups.
10.1 Working with Smart Home Devices
The T6 Pro thermostat is designed to integrate seamlessly with popular smart home systems, including Amazon Alexa and Google Assistant. This compatibility allows for voice control and remote temperature adjustments through the Honeywell Home app. Users can also leverage geofencing technology to automatically adjust settings based on their location. Additionally, the thermostat supports smart scheduling, enabling personalized comfort profiles that adapt to daily routines. By connecting with other smart devices, the T6 Pro enhances home automation, ensuring a more convenient and energy-efficient living experience.
10.2 Integration with Home Automation Systems
The T6 Pro thermostat seamlessly integrates with home automation systems, offering enhanced control through smart hubs and platforms like Samsung SmartThings. This integration allows users to synchronize their thermostat with other smart devices, such as lights and security systems, for a unified home experience. By leveraging advanced automation features, homeowners can create custom scenes and routines that optimize comfort and energy savings. The thermostat’s compatibility with various protocols ensures smooth operation within any smart home ecosystem, making it a versatile and efficient addition to modern living spaces.
The T6 Pro Thermostat Installation Manual provides a comprehensive guide to ensure smooth setup and optimal performance. Refer to this manual for future troubleshooting or upgrades.
11.1 Final Checks After Installation
After completing the installation, perform a final check to ensure the T6 Pro Thermostat is functioning correctly. Verify that the display is clear and responsive. Check that all wires are securely connected and the system is powered on. Test the thermostat by adjusting the temperature to confirm heating or cooling activation. Ensure all settings, such as smart features and schedules, are properly configured. Review the installation for any gaps or misalignments, especially around the mounting system. Finally, confirm that the thermostat is level and securely attached to the wall. These checks ensure optimal performance and prevent future issues.
11.2 Ensuring Optimal Performance
To ensure the T6 Pro Thermostat operates at its best, regularly calibrate the temperature settings and verify the schedule aligns with your lifestyle. Check that geofencing and smart features are enabled for energy efficiency. Maintain clean filters and ensure proper airflow for accurate temperature sensing. Periodically inspect and replace batteries as needed to prevent interruptions. Update the thermostat software to access the latest features and improvements. By following these steps, you can maximize comfort, energy savings, and system reliability over time.