
Signature Select Garlic Bread Instructions: A Comprehensive Guide
Welcome! This detailed guide provides comprehensive instructions for perfectly preparing your Signature Select garlic bread, ensuring a delightful and flavorful experience every time.
We’ll cover various methods – conventional oven, toaster oven, and multi-cooker – alongside helpful tips for optimal results and satisfying pairings.
Understanding Your Signature Select Garlic Bread
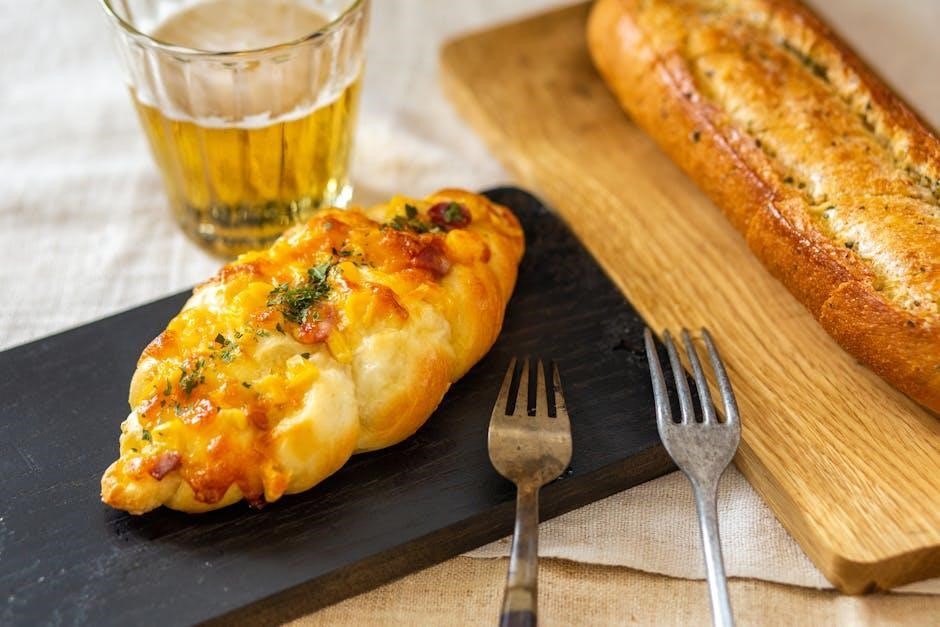
Signature Select garlic bread is designed for convenience and exceptional taste, offering a quick and easy solution for a satisfying side dish or snack. Typically, it comes pre-sliced and generously coated with a savory garlic and herb butter blend. The product line features various styles, including classic garlic bread and options with added cheeses like mozzarella and Monterey Jack, enhancing the flavor profile.
Understanding the product’s composition is key to successful preparation. It’s often sold frozen or refrigerated, impacting the recommended heating method. The packaging clearly indicates whether the bread is intended for conventional oven heating, toaster oven use, or compatibility with multi-cookers. Pay attention to the net weight – commonly around 18oz (510g) – to gauge portion sizes.
Proper handling, as outlined in the directions, ensures optimal texture and flavor. Letting the bread thaw slightly before heating can aid in achieving a crispy crust and thoroughly melted garlic butter.
Checking Package Details & Ingredients
Before preparing your Signature Select garlic bread, carefully review the packaging for crucial details. Locate the “Best By” or “Use By” date to ensure freshness and optimal quality. The package will clearly state the net weight – typically 18oz (510g) – helping you determine serving sizes. Pay close attention to the listed ingredients, especially if you have allergies or dietary restrictions.
Common ingredients include enriched wheat flour, garlic butter (containing butter, garlic powder, and herbs), and potentially cheeses like mozzarella or Monterey Jack. The ingredient list also reveals any potential allergens, such as wheat, milk, or soy.
Crucially, the packaging provides specific heating instructions tailored to different methods – conventional oven, toaster oven, and multi-cooker – ensuring you select the appropriate method for the best results. Always adhere to these directions for food safety and optimal flavor.
Preheating Your Oven: Temperature Guidelines
Proper preheating is essential for achieving perfectly crispy and golden-brown Signature Select garlic bread. The recommended temperature for conventional oven baking is 425 degrees Fahrenheit (approximately 220 degrees Celsius). Allow sufficient time for your oven to reach this temperature – typically 10-15 minutes – ensuring even heat distribution throughout the cavity.
Using an oven thermometer is highly recommended to verify the accuracy of your oven’s temperature setting. Variations can significantly impact the baking process. For optimal results, position the baking rack in the middle of the oven. This ensures the garlic bread cooks evenly on all sides.
Avoid opening the oven door frequently during preheating or baking, as this can cause temperature fluctuations. Consistent heat is key to achieving that desirable crispy texture.
Conventional Oven Baking Instructions
Once your oven has reached 425 degrees Fahrenheit (220°C), carefully remove the Signature Select garlic bread from its packaging. Place the bread flat on a baking pan, ensuring the spread side is facing upwards for maximum flavor exposure. Position the baking pan on the middle rack of the preheated oven to promote even cooking.
Baking time will vary slightly depending on your oven, but generally, 5-6 minutes is sufficient to achieve a golden-brown and crispy crust. For enhanced crispiness, consider briefly turning the slices over during the last 1-2 minutes of baking. Always monitor closely to prevent burning.
Remember to use oven mitts when handling the hot baking pan. Allow the garlic bread to cool slightly before serving for optimal enjoyment.
Optimal Baking Time for Crispy Results
Achieving perfectly crispy Signature Select garlic bread hinges on precise baking time. Generally, a baking duration of 13 to 18 minutes yields excellent results, though this can fluctuate based on your oven’s calibration and the bread’s initial temperature. For a truly golden-brown and delightfully crunchy exterior, closely monitor the bread during the final few minutes.
If using a conventional oven, start with 5-6 minutes, checking frequently. If the bread isn’t sufficiently crisp, continue baking in one-minute increments. Remember that bake-able bags can influence baking time; adjust accordingly. Thawed bread typically requires around 10-15 minutes for optimal crispness.
Consistent monitoring is key to preventing burning while ensuring a satisfyingly crisp texture.
Placement within the Oven for Even Cooking
For consistently even cooking of your Signature Select garlic bread, strategic placement within the oven is crucial. The middle shelf is generally recommended, as it provides balanced heat distribution from both the upper and lower heating elements; Avoid placing the bread too close to the top element, which could lead to uneven browning or burning.
Ensure the baking pan is positioned so air can circulate freely around the bread. Overcrowding the oven with other dishes can also hinder even cooking. If you’re baking multiple pieces, leave sufficient space between them.
Rotating the baking pan halfway through the baking time can further promote uniform crispness and color, especially in ovens known for hot spots.
Toaster Oven Instructions: A Quick Guide
The toaster oven offers a convenient and speedy method for enjoying Signature Select garlic bread. Generally, preheating isn’t necessary, streamlining the process. Place the bread slices directly onto the toaster oven’s baking tray, ensuring the spread side faces up for optimal flavor and texture development.
Bake for approximately 5-6 minutes, closely monitoring for a golden-brown appearance. For enhanced crispness, flip the slices over during the final 1-2 minutes of cooking. Adjust baking time based on your toaster oven’s specific settings and desired level of toastiness.
Remember to check frequently to prevent burning, as toaster ovens can vary in heat intensity. This method is ideal for smaller portions or a quick snack!
Heating from Frozen: Thawing Considerations
Heating Signature Select garlic bread directly from frozen requires a slightly adjusted approach to ensure even cooking and a desirable texture. While baking from frozen is possible, allowing partial thawing beforehand is highly recommended for superior results. This helps the bread heat through more uniformly, preventing a soggy center and overly crisp exterior.
To thaw, simply leave the bread at room temperature for approximately 15-20 minutes, or until it’s pliable enough to easily separate the halves. Avoid fully thawing, as this can lead to a loss of texture. If baking directly from frozen, extend the baking time by several minutes and consider lowering the oven temperature slightly.
Proper thawing ensures a consistently delicious experience!
Heating from Thawed: Achieving Best Texture
For the most satisfying texture, heating your Signature Select garlic bread from a thawed state is ideal. Thawing allows for more even heat distribution, resulting in a perfectly crisp exterior and a soft, warm interior. Ensure the bread is thawed enough to easily separate the halves without tearing.
Preheat your conventional oven to 425°F (220°C). Place the thawed bread flat on a baking pan, spread-side up. Bake for 5-6 minutes, or until golden brown and bubbly. For a quicker option, a toaster oven can be used – no preheating is necessary, and cook for approximately 5-6 minutes, monitoring closely.
Remember, achieving that perfect crunch depends on starting with properly thawed bread!
Multi-Cooker Instructions (If Applicable)
If your multi-cooker offers baking functionality, you can utilize it to prepare your Signature Select garlic bread. Begin by pressing the “MULTI COOK” button, and toggle pressure on or off using the arrow buttons before pressing “START”. Select a cooking temperature between 30-130°C (86-266°F), depending on your multi-cooker’s capabilities and desired level of crispness.
While specific times will vary based on the model, a starting point of 8-12 minutes is recommended. Monitor closely to prevent burning. Some multi-cookers may benefit from a brief broil at the end for enhanced browning.
Experimentation is key to finding the optimal settings for your specific appliance. Always prioritize food safety and ensure the bread is heated through.
Temperature Settings for Multi-Cookers
When utilizing a multi-cooker for Signature Select garlic bread, temperature control is crucial. A range of 30-130°C (86-266°F) generally applies, but optimal settings depend on your model and desired outcome. For a gentle warm-through, 35-40°C (95-104°F) is suitable, mimicking herb and flower dehydration temperatures.
To achieve a crispier crust, aim for 40-50°C (104-122°F), similar to bread dehydration settings. Higher temperatures, around 80-90°C (176-194°F), will accelerate browning but require vigilant monitoring to avoid burning.
Remember, multi-cookers can vary significantly. Start with a lower temperature and increase gradually if needed. Always consult your multi-cooker’s manual for specific recommendations and safety guidelines.
Pressure Cooking vs. Non-Pressure Cooking Options
Generally, pressure cooking isn’t recommended for Signature Select garlic bread. The high moisture and pressure can result in a soggy texture, compromising the desired crispness. However, some multi-cookers offer a “steam” function which, while not full pressure, utilizes a similar environment.
If experimenting with steam, keep the cooking time extremely short – under 5 minutes – and monitor closely. Non-pressure cooking, utilizing the multi-cooker as a convection oven, is the preferred method. This allows for even heating and browning, replicating conventional oven results.
Employ temperature settings between 30-130°C (86-266°F) and adjust based on your desired level of crispness. Prioritize the non-pressure setting for optimal texture and flavor.
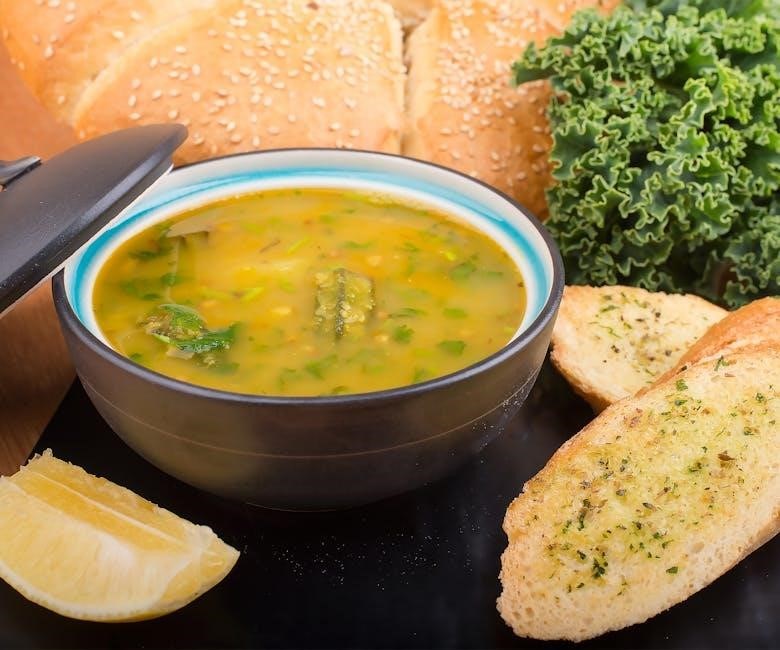
Serving Suggestions & Pairings
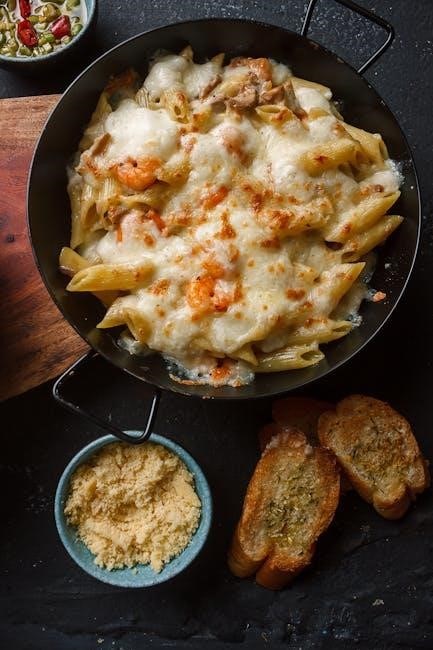
Signature Select garlic bread elevates any meal! It’s a classic companion to hearty soups, particularly tomato or French onion, providing a delightful textural contrast. Pasta dishes, like spaghetti and meatballs or creamy Alfredo, are also wonderfully complemented by its garlicky goodness.
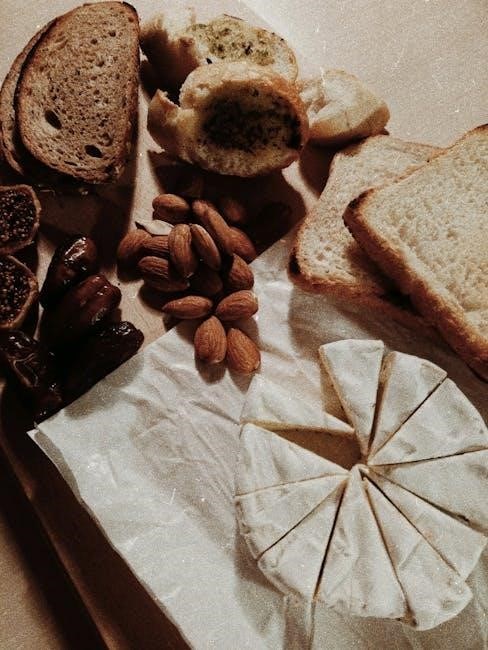
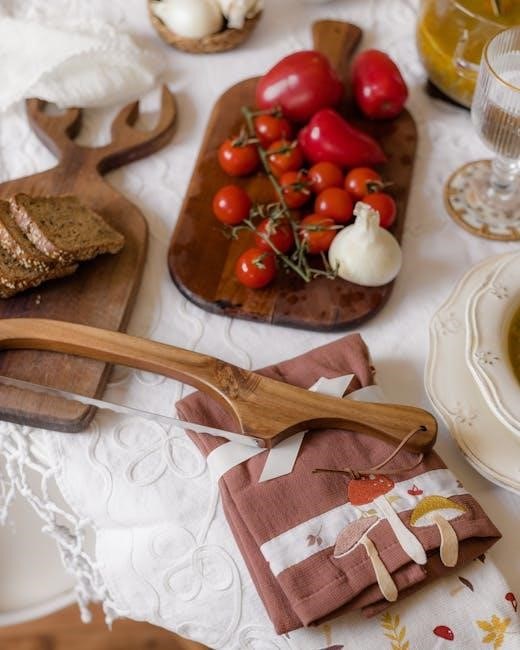
For a casual appetizer, serve alongside a cheese and charcuterie board. Consider pairing with a crisp white wine, such as a Riesling, to cut through the richness of the bread and garlic. A light salad with a vinaigrette dressing offers a refreshing counterpoint.
Don’t underestimate its versatility – it’s fantastic with chili, stews, or even alongside grilled chicken or steak. Enjoy!
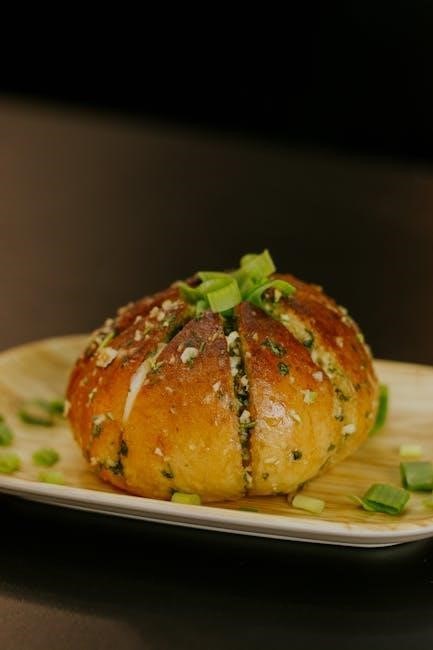
Garlic Bread Variations & Customization
Signature Select garlic bread is a fantastic base for customization! Enhance the flavor by sprinkling with grated Parmesan cheese before baking for a cheesy, golden crust. For a spicy kick, add a pinch of red pepper flakes to the garlic butter mixture.
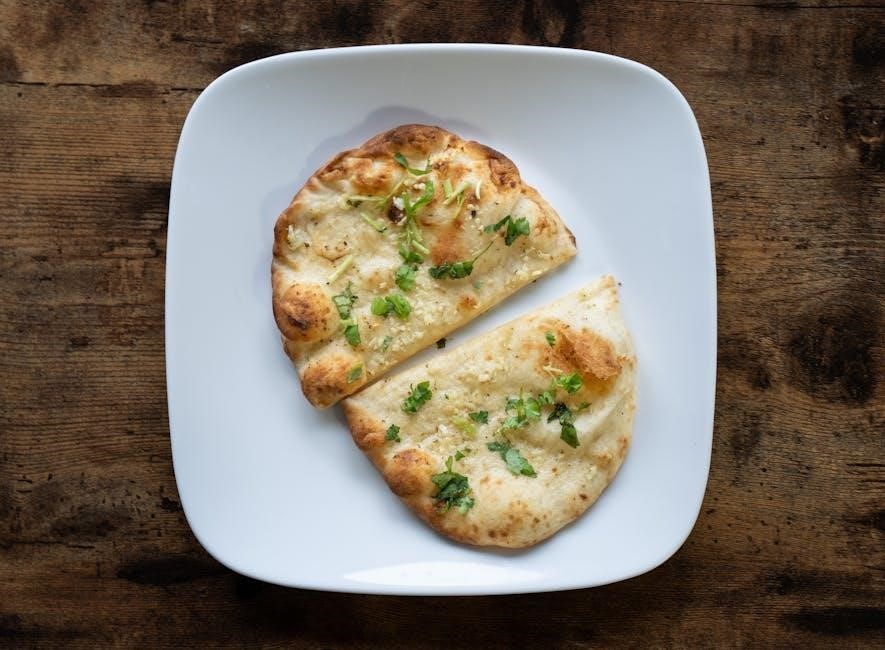
Fresh herbs like parsley, chives, or oregano elevate the aroma and taste. Consider layering sliced mozzarella or provolone cheese on top for a melty, decadent treat. A drizzle of balsamic glaze after baking adds a touch of sweetness and complexity.
Experiment with different flavored butters – sun-dried tomato, pesto, or even a spicy chili-lime butter. Get creative and make it your own!
Troubleshooting Common Issues
Bread Not Crispy Enough? Ensure your oven is preheated to the correct temperature (425°F is recommended). Extend the baking time by a few minutes, closely monitoring to prevent burning. Placing the bread directly on the oven rack can promote better crisping, but watch carefully!
Garlic Flavor Too Mild? If the garlic flavor isn’t prominent enough, consider brushing the bread with additional garlic butter before baking. You can also infuse the butter with roasted garlic for a more intense flavor. Remember, the quality of garlic used impacts the final taste.
If using a toaster oven, ensure sufficient heat reaches the bread. For frozen bread, allow a longer baking time.
Bread Not Crispy Enough
Achieving that perfect, golden-brown crispness with your Signature Select garlic bread requires attention to detail. First, verify your oven has been adequately preheated to 425°F. An insufficiently heated oven is a primary culprit for soggy bread. Consider extending the baking time by 2-3 minutes, but remain vigilant to avoid burning.
For enhanced crispness, position the bread directly on the middle oven rack, allowing for maximum heat circulation. If your bread came in a bake-able bag, follow package directions carefully; otherwise, remove it. Ensure the bread isn’t overcrowded on the baking sheet.
If still lacking crispness, briefly broil (watching closely!) for the final minute.
Garlic Flavor Too Mild
If your Signature Select garlic bread isn’t delivering the robust garlic punch you desire, several adjustments can be made. While the product is pre-seasoned, garlic intensity can vary. Consider supplementing with freshly minced garlic, lightly brushed over the bread’s surface before baking. A sprinkle of garlic powder can also boost the flavor profile.
Ensure the bread is heated thoroughly, as heat intensifies the garlic notes. Extending the baking time by a minute or two can help. For a more pronounced flavor, try pairing the garlic bread with a complementary dipping sauce, such as a garlic aioli or herb-infused butter.
Remember, flavor is subjective; adjust seasoning to your preference!
Food Safety Guidelines & Precautions
When preparing Signature Select garlic bread, prioritizing food safety is crucial. Always ensure your hands are thoroughly washed before handling the product and cooking equipment. Verify the bread packaging is intact and shows no signs of damage before use. Follow the cooking instructions precisely, as proper heating eliminates potential bacteria.
Internal temperature isn’t typically a concern with pre-made garlic bread, but ensure it’s heated through and golden brown. Avoid cross-contamination by using separate utensils for raw and cooked foods. Allow the bread to cool slightly before handling to prevent burns.
Leftovers should be stored properly and consumed within a reasonable timeframe – see storage instructions. Discard any bread exhibiting mold or an off odor.
Storage Instructions for Leftover Garlic Bread
To maintain the quality and freshness of your leftover Signature Select garlic bread, proper storage is essential. Allow any remaining slices to cool completely before storing. Once cooled, wrap the bread tightly in plastic wrap, or place it in an airtight container. This prevents it from drying out and absorbing odors from the refrigerator.
Refrigerated, leftover garlic bread will generally stay fresh for up to 2-3 days. For longer storage, consider freezing. Wrap individual slices tightly in plastic wrap, then place them in a freezer-safe bag or container. Frozen garlic bread can be stored for up to 2-3 months.
When reheating, a brief warming in the oven or toaster oven is recommended to restore some of its crispness.
Nutritional Information (Based on Package)
Please note that nutritional information can vary slightly depending on the specific Signature Select garlic bread variety and package size. However, based on a standard 18oz (510g) loaf, a single serving (approximately 1 slice) generally contains around 140-160 calories.
This typically includes 5-7 grams of total fat, with 1-2 grams of saturated fat. Sodium content is usually between 200-250mg per slice. Carbohydrates range from 20-25 grams, with 2-3 grams of dietary fiber and 2-4 grams of sugar. Protein content is generally around 3-4 grams per serving.
It’s always best to consult the specific nutritional label on your Signature Select garlic bread package for the most accurate and up-to-date information, especially if you have dietary restrictions or concerns.
Signature Select Product Line Overview
Signature Select is a widely recognized private-label brand, primarily available at Albertsons Companies stores, encompassing a diverse range of grocery products. Known for offering quality items at competitive prices, the line includes pantry staples, frozen foods, snacks, and bakery goods – including their popular garlic bread.
The brand consistently focuses on providing value without compromising taste or quality. Signature Select aims to deliver familiar favorites alongside innovative options, catering to a broad spectrum of consumer preferences. Their commitment extends to sourcing ingredients responsibly and maintaining consistent product standards.
Beyond garlic bread, explore their offerings for complementary items like soups, salads, and cheeses to create complete and satisfying meals; Signature Select strives to be a trusted choice for everyday grocery needs.